
How to ski better instantly – Fit you boot to your foot
You are unique and so should your boot be
Maybe you have heard about boot fitting and thought that this it sounds complicated and exclusive, only for professional skiers.
But the truth is, that almost all skiers that buy a ski boot, could benefit from having it fitted to their unique shape.
In this article, I will give an overview of how you can make sure you get a ski boot that does not limit your potential, but support your skiing in the best possible way.
Choose the right boot
Here are the two fundamental things, you need to consider when choosing your ski boot.
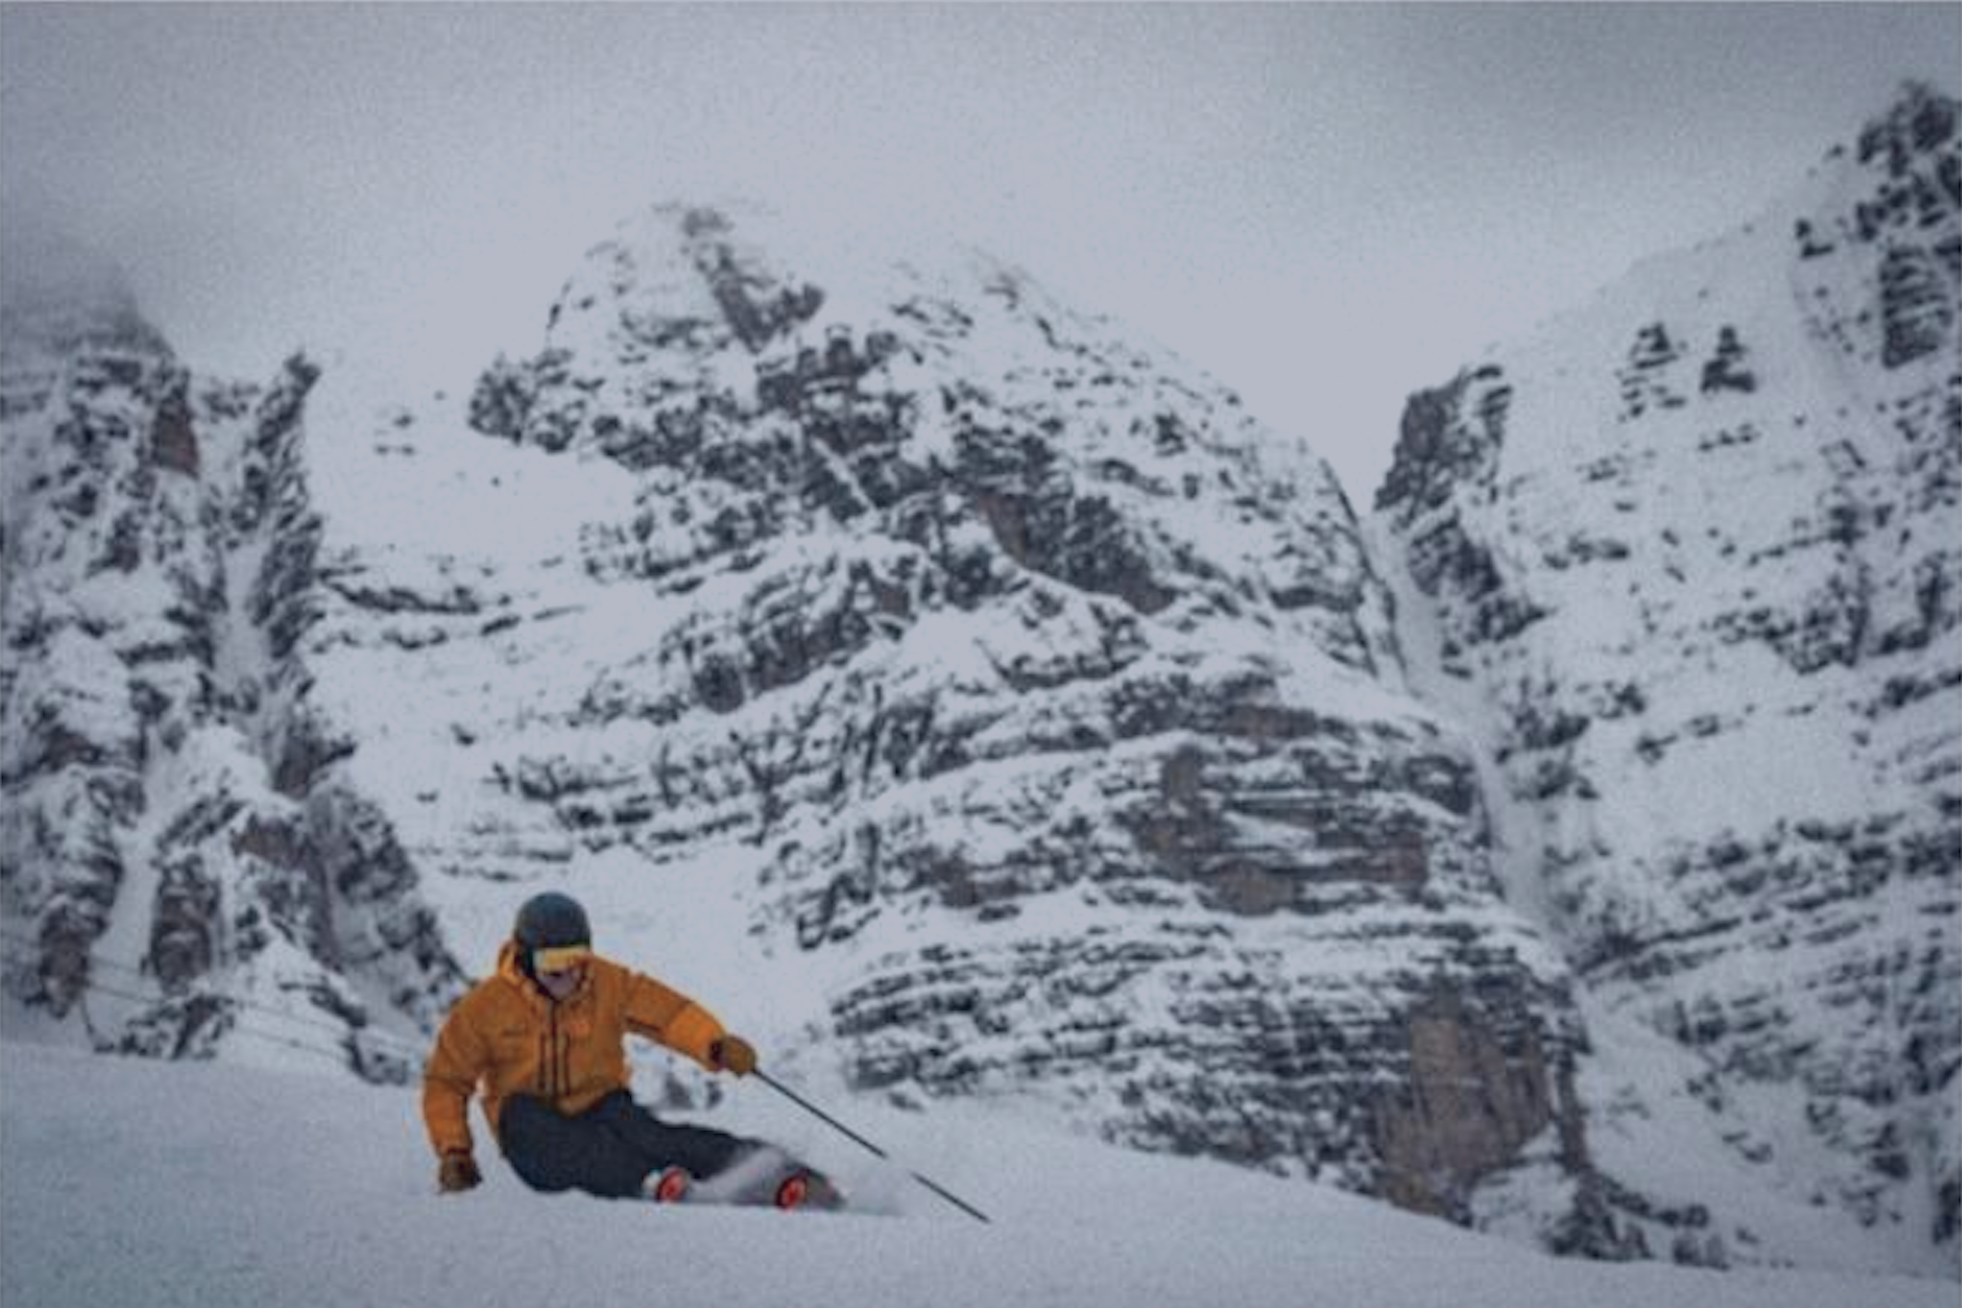
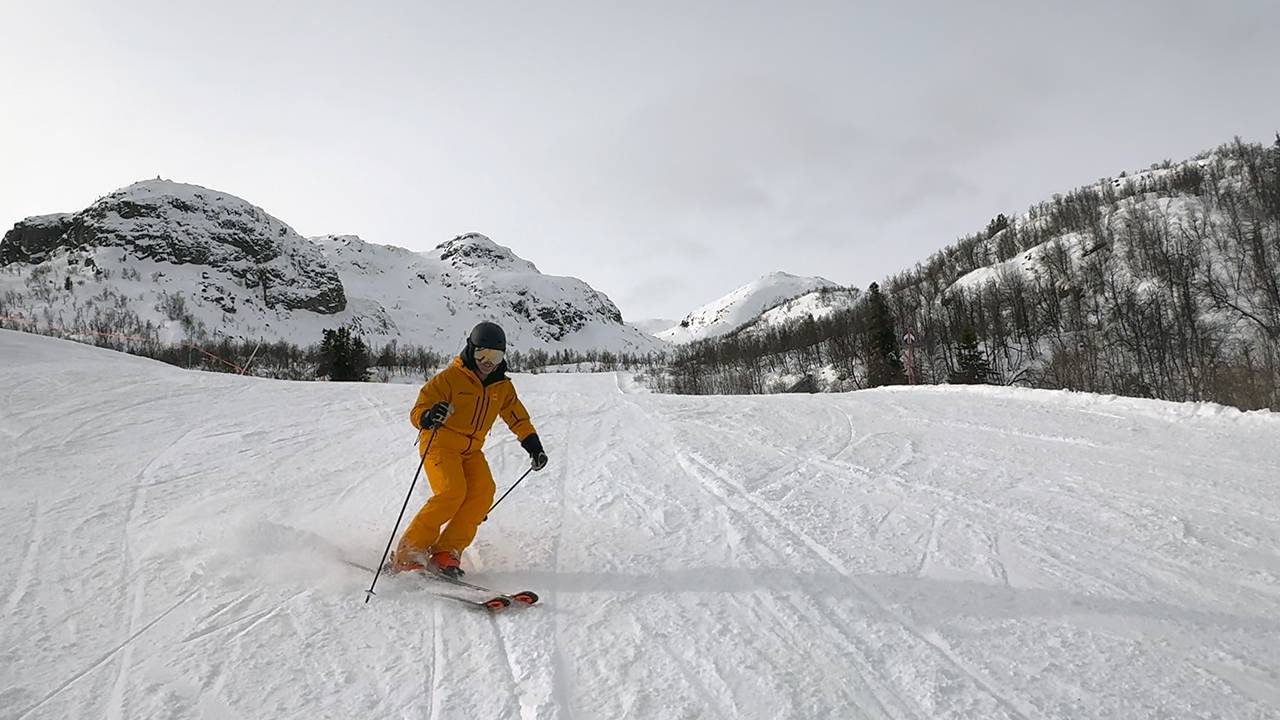
Skiing style
Is the boot is made for a specific type of skiing (racing, freeride, touring etc.)?
Most recreational skiers will do fine with one boot made for skiing on the groomers.
But, you need to be aware that there are specific boots for specific styles of skiing, so you dont end up with the wrong type of boot because it looked pretty or felt comfortable.
As you reach a certain level of skiing and/or you are interested in different types of skiing, you might want to consider having specific boots for a specific types of skiing.

Body type and skiing ability
Is the boot a good match for your body type?
The stiffness of the boot is measured with a flex number and this is important here. Most recreational skiers will be happy with a flex number between 80-120.
In general, the better a skier you are the higher your flex should be.
And also, a heavier skier would also benefit from a higher flex than a similar level – but lighter – skier.
The flex number is not an exact science and the same number (for example flex 110) can have big variations across different brands and boot type.
Action: When you try different boots in the shop make sure you tighten the boot and flex your ankle to get a feel for what the flex of this specific boot feels like.
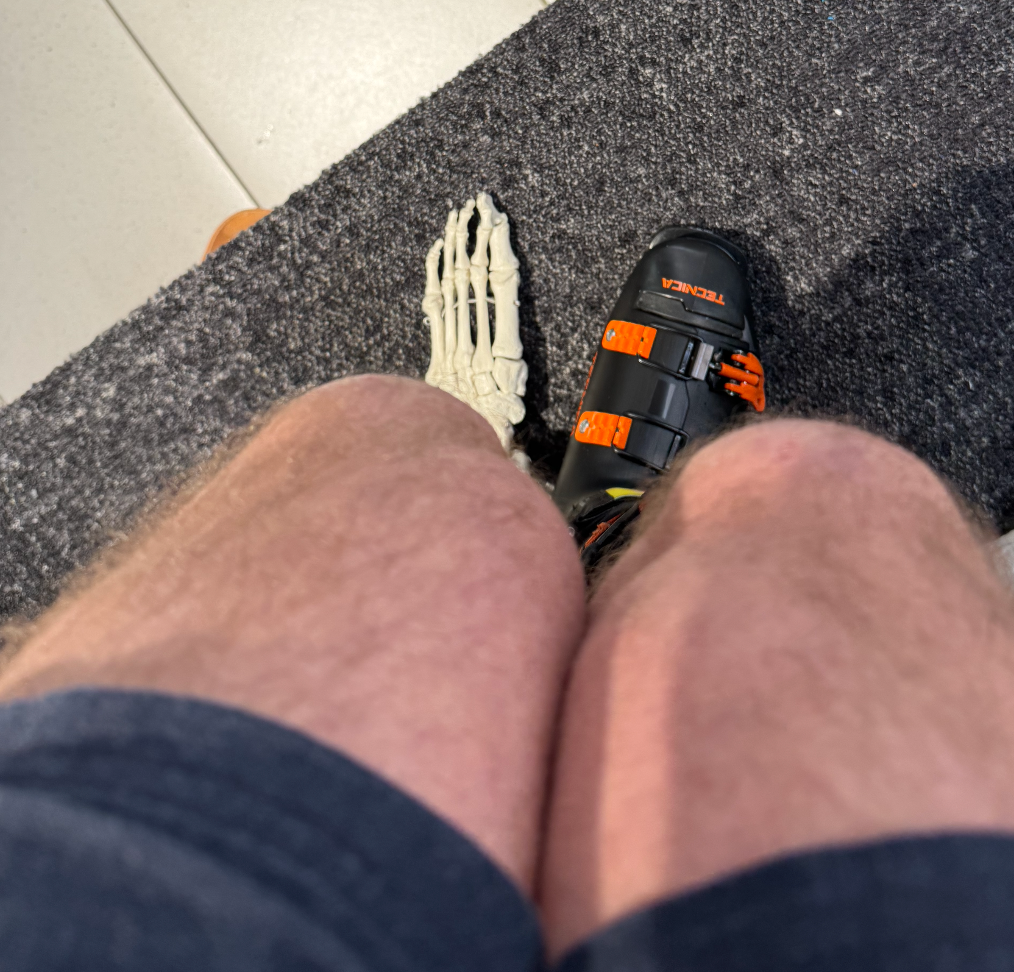
Good fit
Some people have narrow feet, some have wide feet. The better the boot fits from the beginning the less work needs to be done with it afterwards.
Good guidance in the shop should include measuring your foot both in length and width to get an idea of what brand, model and size would be a good fit to the shape of your foot.
But you also need to consider – and feel – the fit around your ankle and leg all the way up the cuff.
Action: Try similar models from different brands to get an idea and something to compare.
Aim for a snug and tight fit, that does not hurt.
But also keep in mind, that once the boot fitter starts working their magic spots that hurt can fixed.
Action: Flex your ankles and push your shin lightly into the tongue of the boot. This will pull your heel back and you will get a more true feeling of whether the length is correct.
Customisation time
Found the right boot? Now its time to make make all the fine adjustments that makes it a great fit and truly yours. Here are the things that must be done.
Finetune to a snug fit
When you have found the boot that matches your style of skiing, body type and have the best fit, it is time to remove pressure points and fill out roomy areas, so you can have a both snug and comfortable fit.
Remove problematic spots
Since no feet are created equal (but all ski boots are from the factory), there are most likely some areas in the boot that does not follow the shape of your foot completely.
This might feel like zones of uncomfortable pressure or even spots of pain.

Fill out roomy areas
It could also be the other way round that there are areas with too much room, so you loose the snug fit.
The answer is to either make room on the h
Align to your body
Not only do we all have unique feet, we all have our unique curves, bends and proportions in the rest of the body.
If the boot is not aligned with our body it will show in your skiing.
Cuff alignment
This is a lateral adjustment between the lower shell of the boot and the upper cuff.
With an adjustment you want to make sure your leg follows the center of the boot – with equal amounts of space to each side of the boot – when you are in a natural stance.
When the cuff alignment is spot on you will be able to edge equally to both sides.
Canting
This is work done to the sole of the boot so the whole boot is tilted laterally – not just the upper cuff as in cuff alignment.
Preferably you would want to align the cuff, and then do more to match your lower leg with canting only if necessary.
Boot board ramp angle
Your boot board will most likely be set with an angle where you heel is higher than your toes. This helps you distribute pressure correctly.
What will be correct for you is highly dependant on your body, especially how flexible you are with your ankles.
Forward lean
This is the angle between your boot and the ski and it often ranges between 12-18 degrees.
Generally, beginners prefer a more upright boot and more advanced and aggressive skiers prefer a more forward leaning boot.
Liners
This is the softer boot inside your hard shelf. Your boot always comes with a liner, but this might not be the best liner for you. You can alsop do adjustments to the liner you have to make help the fit.
Footbeds
